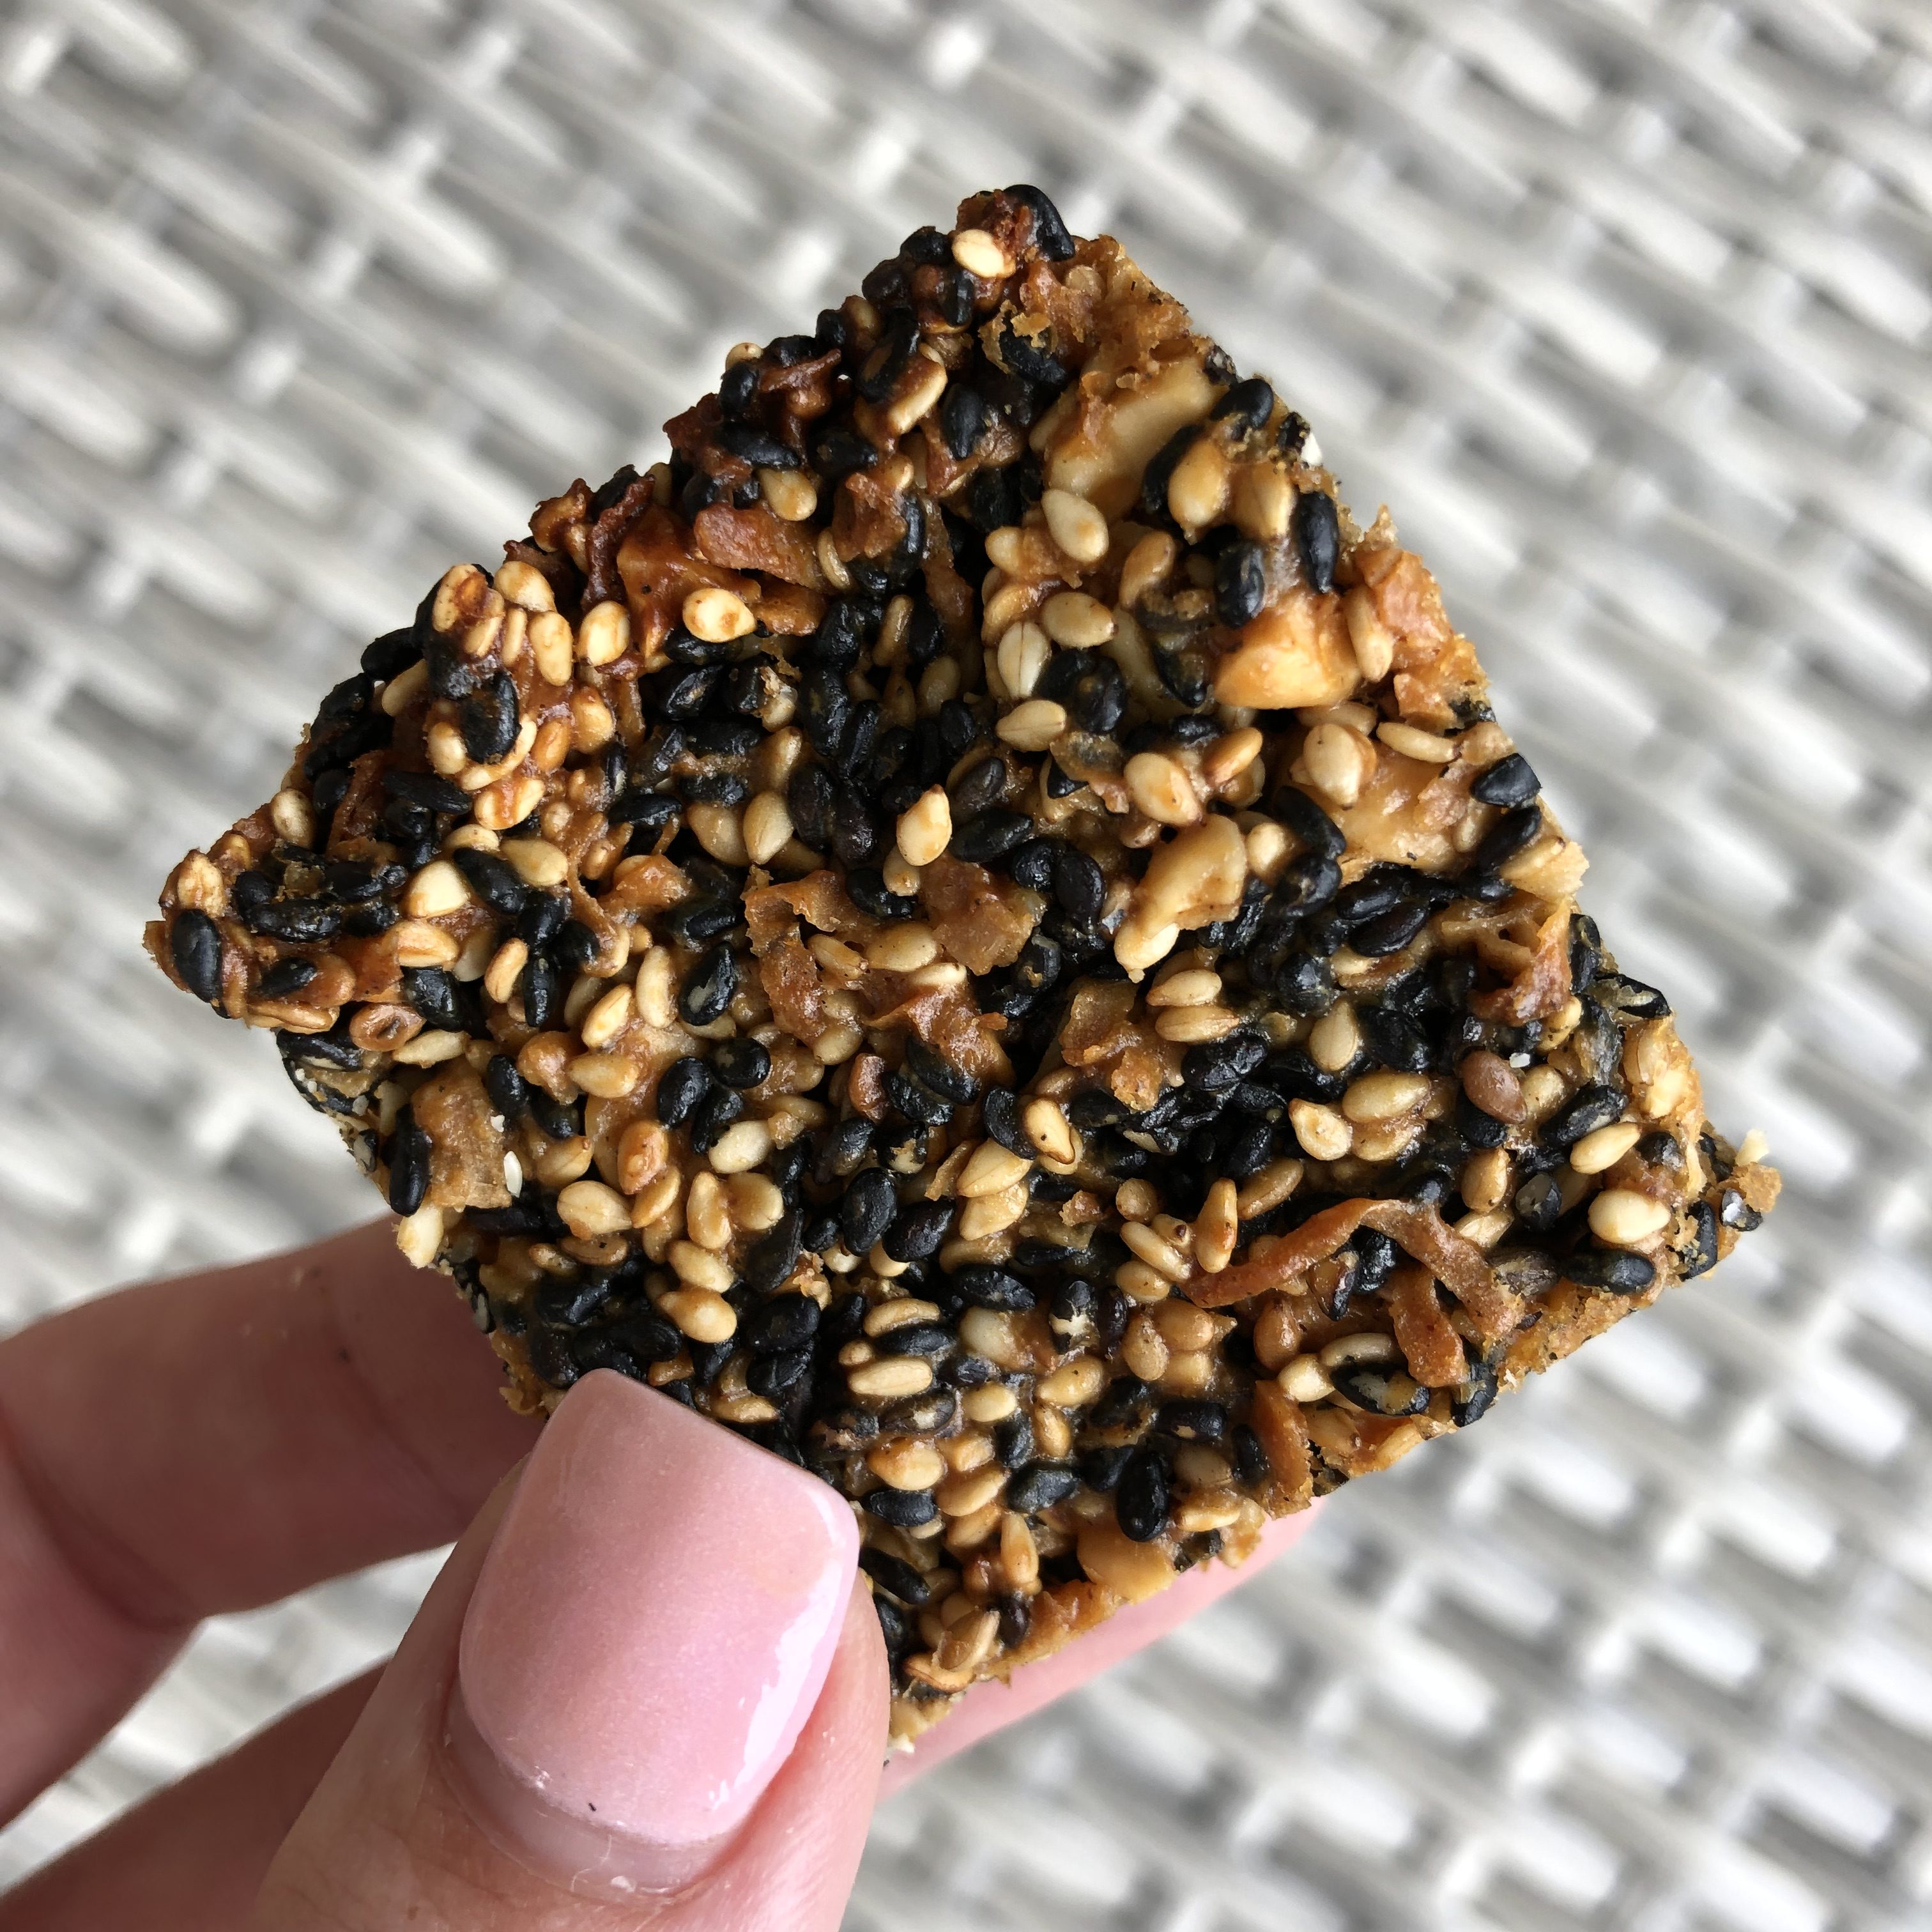
Sesame Raisin Nut Bars

I have a confession, y’all. I’ve become a label reader.
Just want the recipe? Click here to Jump to Recipe
Yep. I’ve turned into a certified, obsessive, meticulous nutrition label reading…reader. Critic. Crazy person? I’m not sure what you call it.
Either way, the more labels I read, the wider my eyes get. The higher my eyebrows raise. Especially when it comes to what I’m feeding my family – particularly, my kids.
When I was younger, single and child-less, I didn’t know a darn thing about nutrition. The “young 20’s” version of myself simply didn’t care, to be honest. Now, things have changed.
Now, I have two children who deserve to not only eat well, but to know how to do so. It is my responsibility to teach them the importance of taking proper care of themselves not only on the surface, but on the inside as well.
Now, I have a husband with hypertension and cardiac issues.
Now, in addition to a rampant family history of breast cancer, I suffer from anxiety.
It’s more important than ever for me now to focus on and learn about our diet, lifestyle and the different ways that we can personally impact our overall health in a positive way. Making our own snacks is just one way that we can impact all three – diet, by controlling what ingredients go into the food we eat, lifestyle, by creating an activity that we can do as a family, and positively impacting our overall health by learning new recipes, trying new foods, and making wholesome, healthy meals that we can enjoy together.
My kids were really excited to try today’s recipe. My oldest in particular (she’s my picky eater) really likes cereal and granola bars for breakfast or snacks. Unfortunately, the majority of the bars that you can buy in the store are loaded with sugar. I thought this recipe might be a better solution for her (hint: it was!). We actually found the original recipe in a cookbook I’d gotten for her for Christmas – Kid Chef: The Foodie Kids Cookbook by Melina Hammer. We LOVE this book, and have made several of the recipes with great success. We didn’t have all of the ingredients on hand as written, so we improvised a little bit for our version.
Surprisingly enough, I didn’t get a picture of her while we were prepping the bars – but I did snap one of her ever-eager (and little foodie) younger sister.

Since I had both of my girls helping me make these, I divvied up responsibilities to each of them. We started by preheating the oven to 350 degrees (I set the temp, my youngest helped me by pushing “start”). Then, one of the girls sprayed our baking dish lightly with cooking spray and the other lined it with parchment paper.
From there, it was time to mix up the ingredients. We started with the dry stuff. Sesame seeds (we used both white and black), coconut and a little bit of salt. Don’t worry – we washed our hands before we started!

Then we mixed up the wet ingredients – nut butter (*note: if you have a peanut allergy, try sunflower butter instead!), honey and vanilla extract.

When it came time to combine our wet and dry ingredients, I let my youngest hold the bowl while my oldest transferred the wet ingredients into the bowl with the dry stuff. We took turns mixing everything together and making sure it was well combined. Then, we transferred everything into our waiting baking dish…

…and used our spatula to make everything even before we stuck them in the oven. 25 minutes later, the edges were golden and the house smelled AMAZING. We let them cool on a wire rack for about 30 minutes, and then used a sharp knife to cut out individual bars. YUM.

Store your bars in an airtight container or ziploc bag and you’ve got snacks for the week!
If you make this recipe, snap a photo and share it on Instagram using @sew_yummy or #sewyummy. I’d love to see your pictures! Also, drop a rating or a comment if you feel so inclined.

Sesame Raisin Nut Bars
Equipment
- 8x8 glass baking dish
- parchment paper
- mixing bowls (one small, one medium)
- spatula
- wire cooling rack
Ingredients
- 1 cup sesame seeds (white, black or mixed)
- 3/4 cup unsweetened coconut flakes
- 1/4 cup raisins
- 1/4 cup honey
- 1/2 cup crunchy peanut or almond butter *Nut allergy? Try sunflower butter instead.
- 1/2 tsp vanilla extract
- 1/4 tsp kosher salt
- cooking spray
Instructions
- Preheat oven to 350 degrees. Spray baking dish lightly with cooking spray and insert parchment paper, folding or cutting the sides to fit snugly.
- Mix together sesame seeds, coconut, raisins ad salt in a medium bowl. Separately, mix honey, nut or sunflower butter, and vanilla extract until well combined.
- Pour nut butter mixture over the seeds, coconut and raisin blend. Stir together with spatula until well combined.
- Transfer the mixture into the baking dish and press into a smooth layer. Bake in preheated oven for 23-25 minutes. Remove baking dish from the oven and place on wire cooking rack for 20-30 minutes, or until completely cool. Use a sharp knife to slice into individual bars and serve! Leftovers can be kept in an airtight container for up to 5 days.
You Might Also Like...
Tags
About The Author
Laura Taylor
You Might Also Like...
Related Posts
Spinach Salad with Apples and Poppy Seed Dressing
This easy-to-make poppy seed dressing is light and creamy, with just the right…
You Might Also Like...
Greek Yogurt Parfait with Roasted Grapes
This breakfast parfait doesn’t just look pretty – it tastes amazing, too…


Leave A Comment